
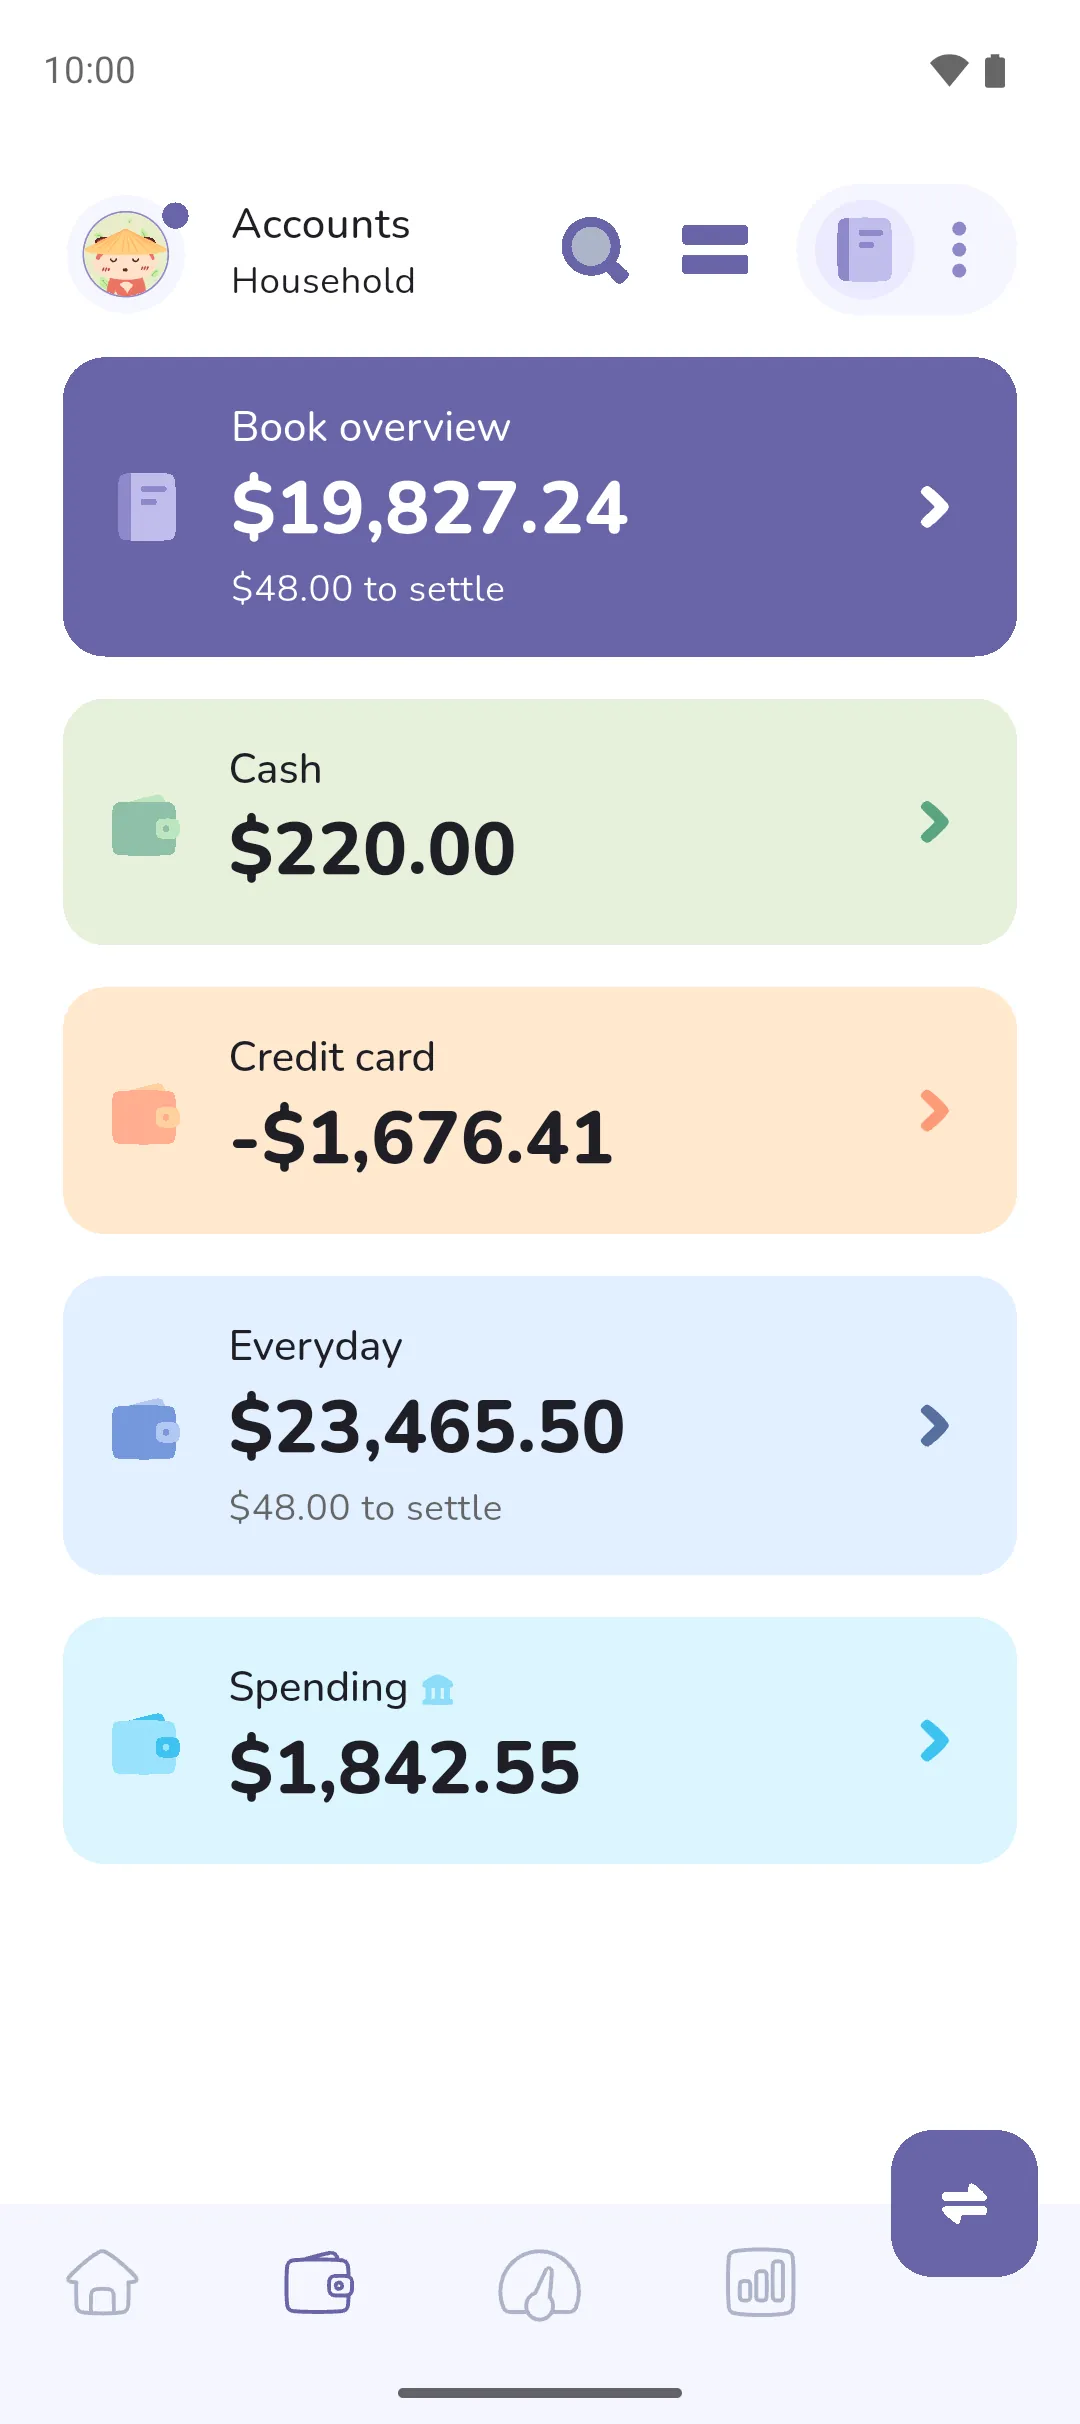
An account is money you spend from day to day: a bank account, the cash in your wallet, a prepaid card. Accounts live in a Money Manager book. Every transaction lands in one account, and money moved between two accounts is a transfer rather than an expense.
Where to find it: in two places.
- The Accounts tab (Accounts tab icon, second in the bottom bar of a Money Manager book) lists every account with its balance.
- To add, edit or delete one, tap the Book icon (top right) → Manage accounts.
 Accounts tab icon, second in the bottom bar of a Money Manager book) lists every account with its balance.
 Book icon (top right) → Manage accounts.
An Expense Tracker book has no Accounts tab. It uses a single account behind the scenes, and the Timeline tab takes its place.
Add an account
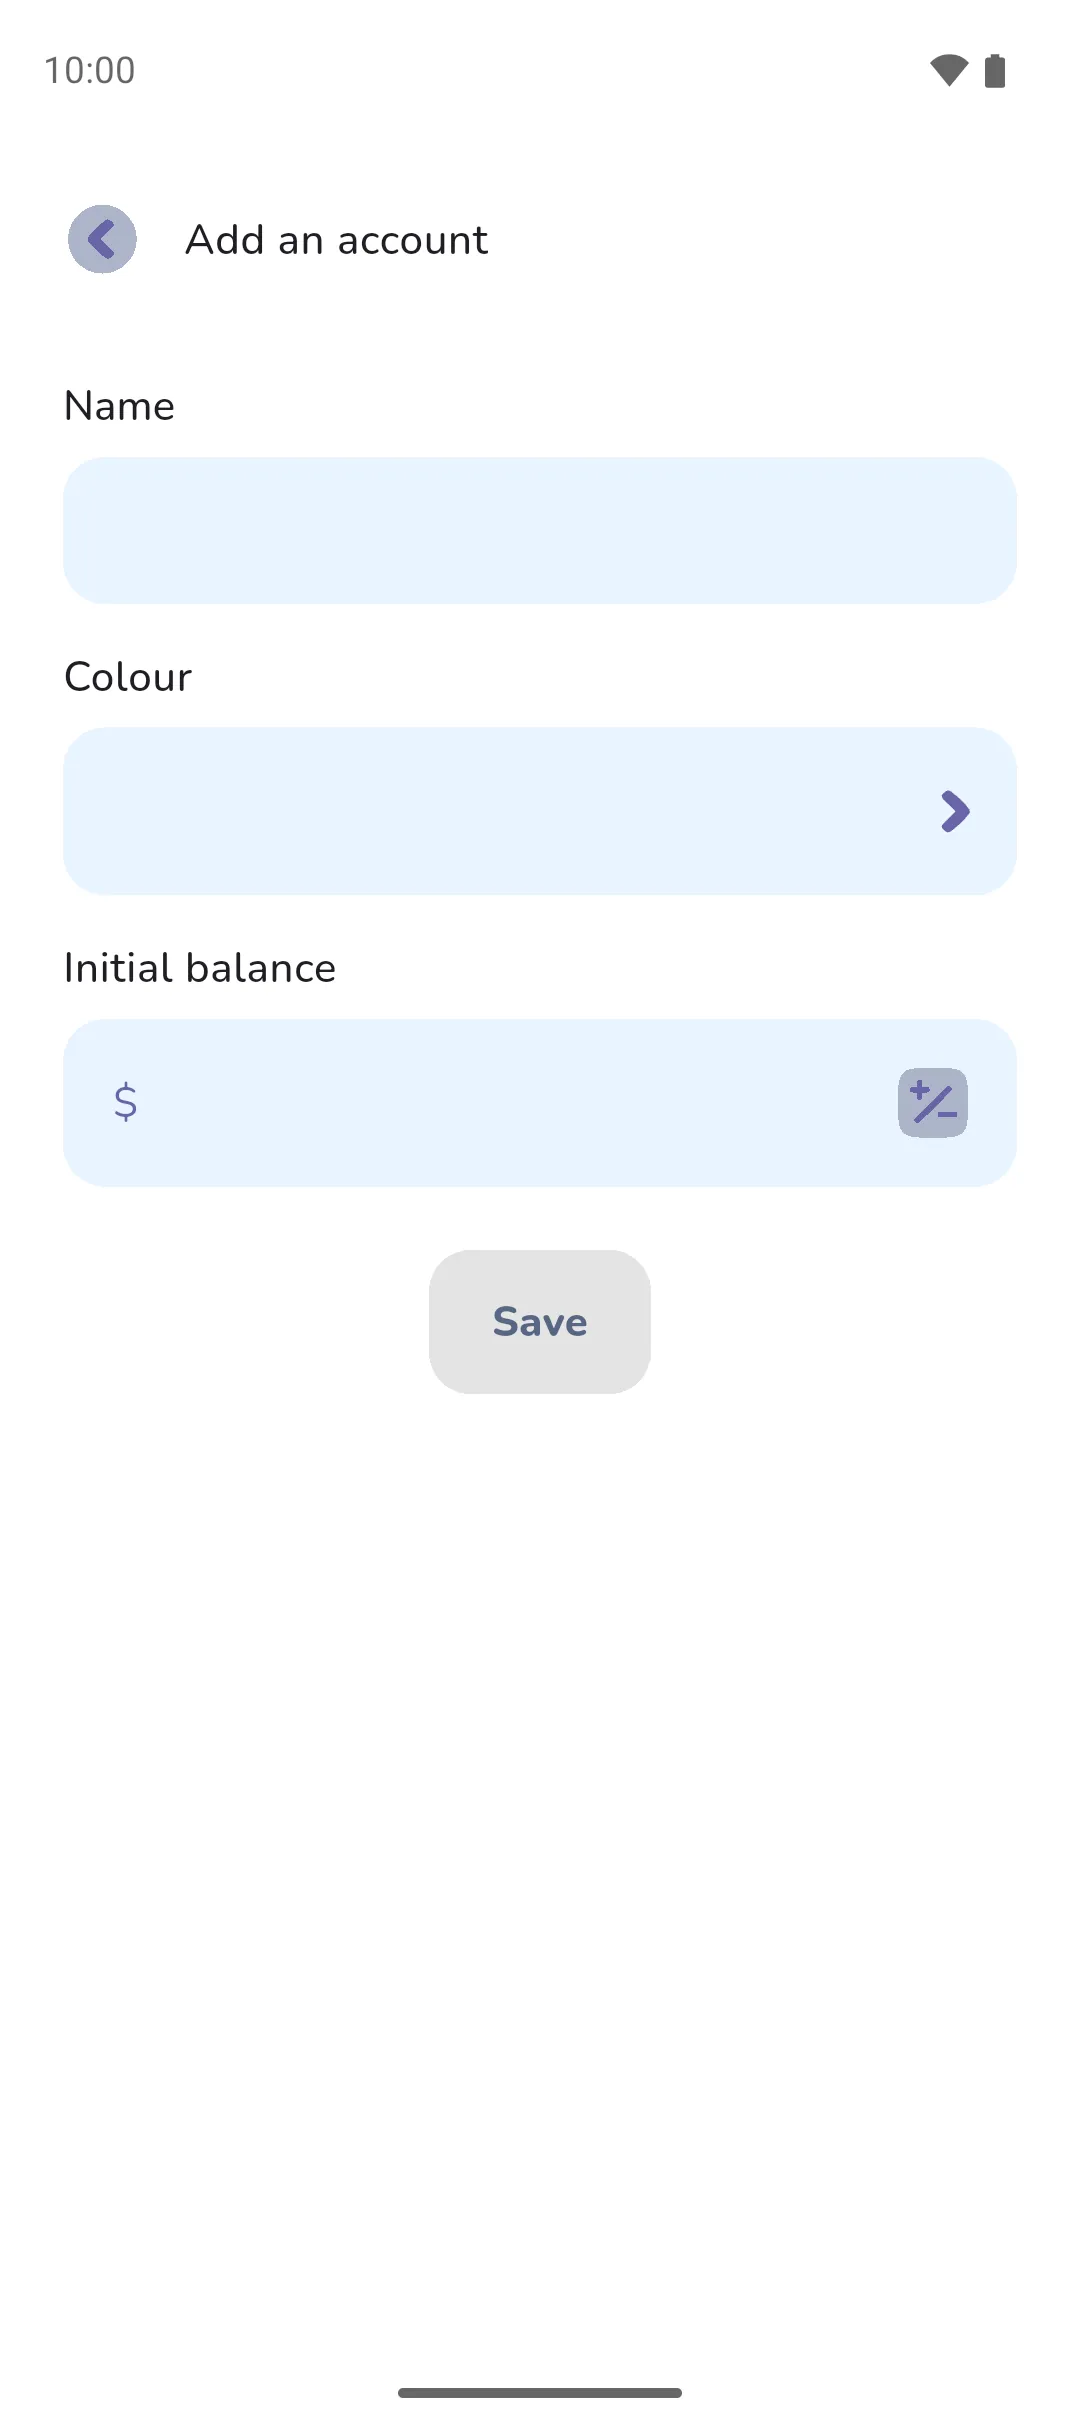
- On Manage accounts, tap the Plus button. On an empty Accounts tab, the Create an account card does the same.
- In a country where bank linking is available, the app first asks How do you want to set up this account?. Choose Manual tracking.
- Enter a Name. Two accounts in one book can't share a name.
- Pick a Colour. The colour sets the Account icon shown beside the account's name.
- Enter the Initial balance, what's in the account right now, or 0 for an empty one. Tap the Positive/negative toggle beside the amount for an overdrawn account, or a credit card with an outstanding balance.
- Tap Save.
 Plus button. On an empty Accounts tab, the Create an account card does the same.
 Account icon shown beside the account's name.
 Positive/negative toggle beside the amount for an overdrawn account, or a credit card with an outstanding balance.
Edit an account
On Manage accounts, tap the account. Change the Name or Colour and tap Save.
Change the starting balance
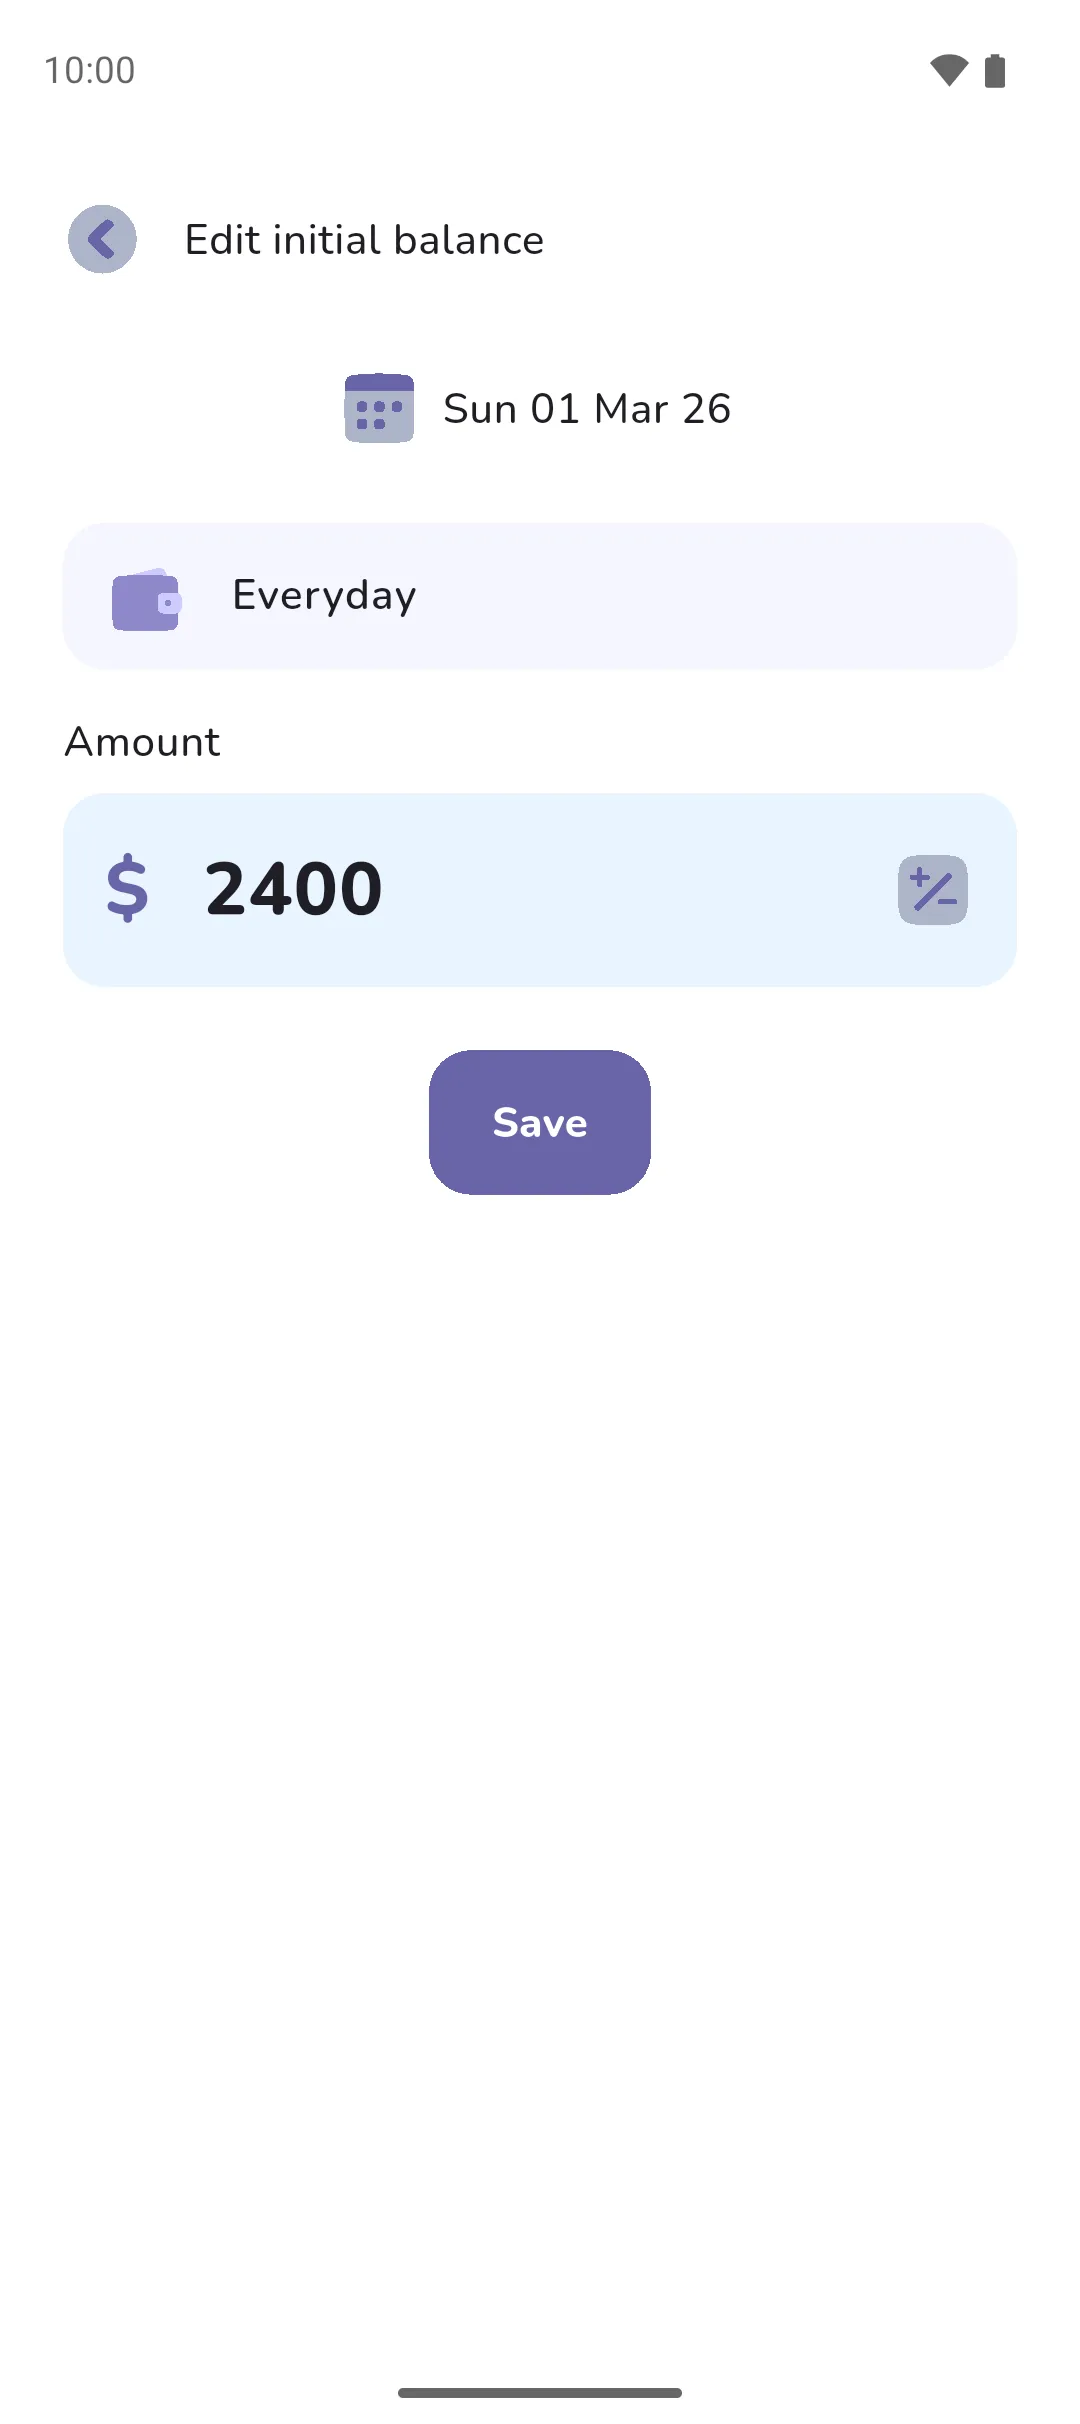
The starting balance isn't on the account's edit screen. It's an entry in the account's own list of transactions, marked Initial balance and dated when you created the account.
- On the Accounts tab, tap the account.
- Scroll to the bottom of the list. Transactions run newest first, so the Initial balance entry is found below them all.
- Tap the entry to open Edit initial balance.
- Change the Amount. The Positive/negative toggle beside it makes the balance negative.
- To change the date the account started, tap the date and pick another. The date can't be in the future.
- Tap Save.
An account that started at 0 has no Initial balance entry to edit.
Delete an account
Open the account on Manage accounts and tap the Delete icon in the top right. An empty account is deleted once you confirm. An account with transactions or transfers asks how to proceed:
 Delete icon in the top right. An empty account is deleted once you confirm. An account with transactions or transfers asks how to proceed:
- Delete everything, including transactions and transfers.
- Transfer everything to another account, then delete this account. The app then lists your other accounts under Transfer. Pick the one to take everything, including recurring transactions and transfers.
A transfer between the deleted account and the one taking its place disappears, since money can't move from an account to itself.
The Accounts tab
The list starts with Book overview, then one row per account. Book overview is the whole book: every account, and any tracker set to count in the book's total. A balance counts settled money up to today. Pending money dated today or earlier shows underneath as an amount to settle. Tap a row to open its transactions. The List toggle in the top bar switches between cards and a compact list.
 List toggle in the top bar switches between cards and a compact list.
- A free book holds two accounts. For a third, Pro is required. With more than two and no Pro, the first two by name stay usable. The rest are greyed out wherever you pick an account, and on Manage accounts the only thing left to do with one is delete it.
- The Initial balance entry counts in the account's balance but not in your budget, income or expenses. It's what was there before you started.
- A transaction is money in or out of your finances. Money moved between your own accounts, or into a tracker, is a transfer, so it doesn't count as income or an expense.
- With Pro Sync: a linked account syncs its transactions from the bank and shows a bank mark beside its name. Adding one starts from Link bank account: see Connecting a bank.
- On the Accounts tab, pull down to sync your data.
See also: Books, Transfers, Trackers, Adding a transaction.