
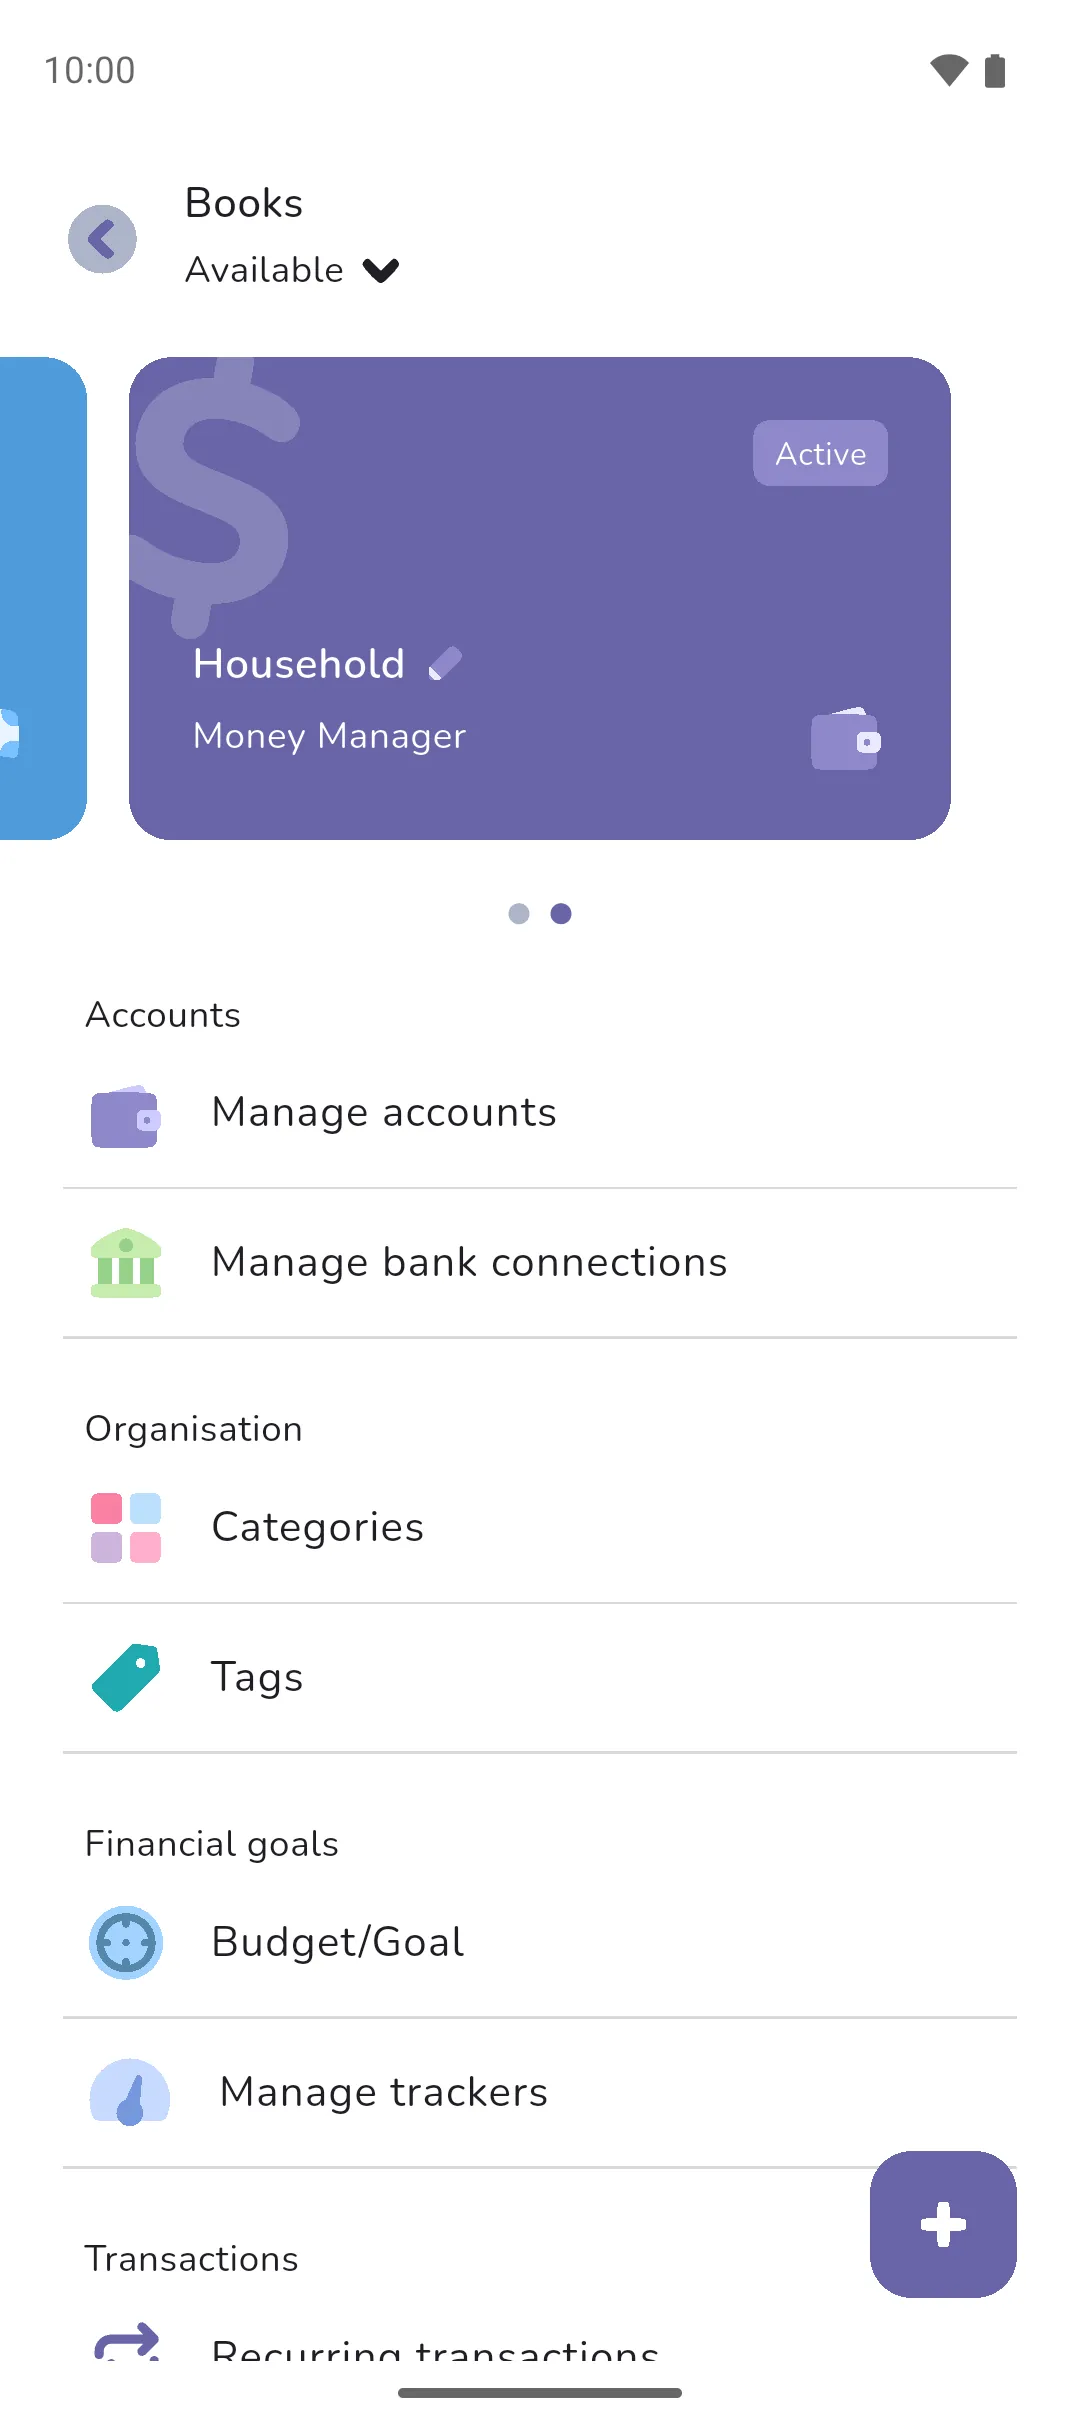
A book is a container everything else lives in: its accounts, categories, transactions, budgets and more. One book is enough for most people. A second book keeps something separate, such as a trip abroad, with its own currency and its own budget.
Where to find it: tap the Book icon (top right of the home screen and the tabs) to open the Books menu. Swipe between the cards, and everything below applies to the card you're on.
 Book icon (top right of the home screen and the tabs) to open the Books menu. Swipe between the cards, and everything below applies to the card you're on.
Create a book
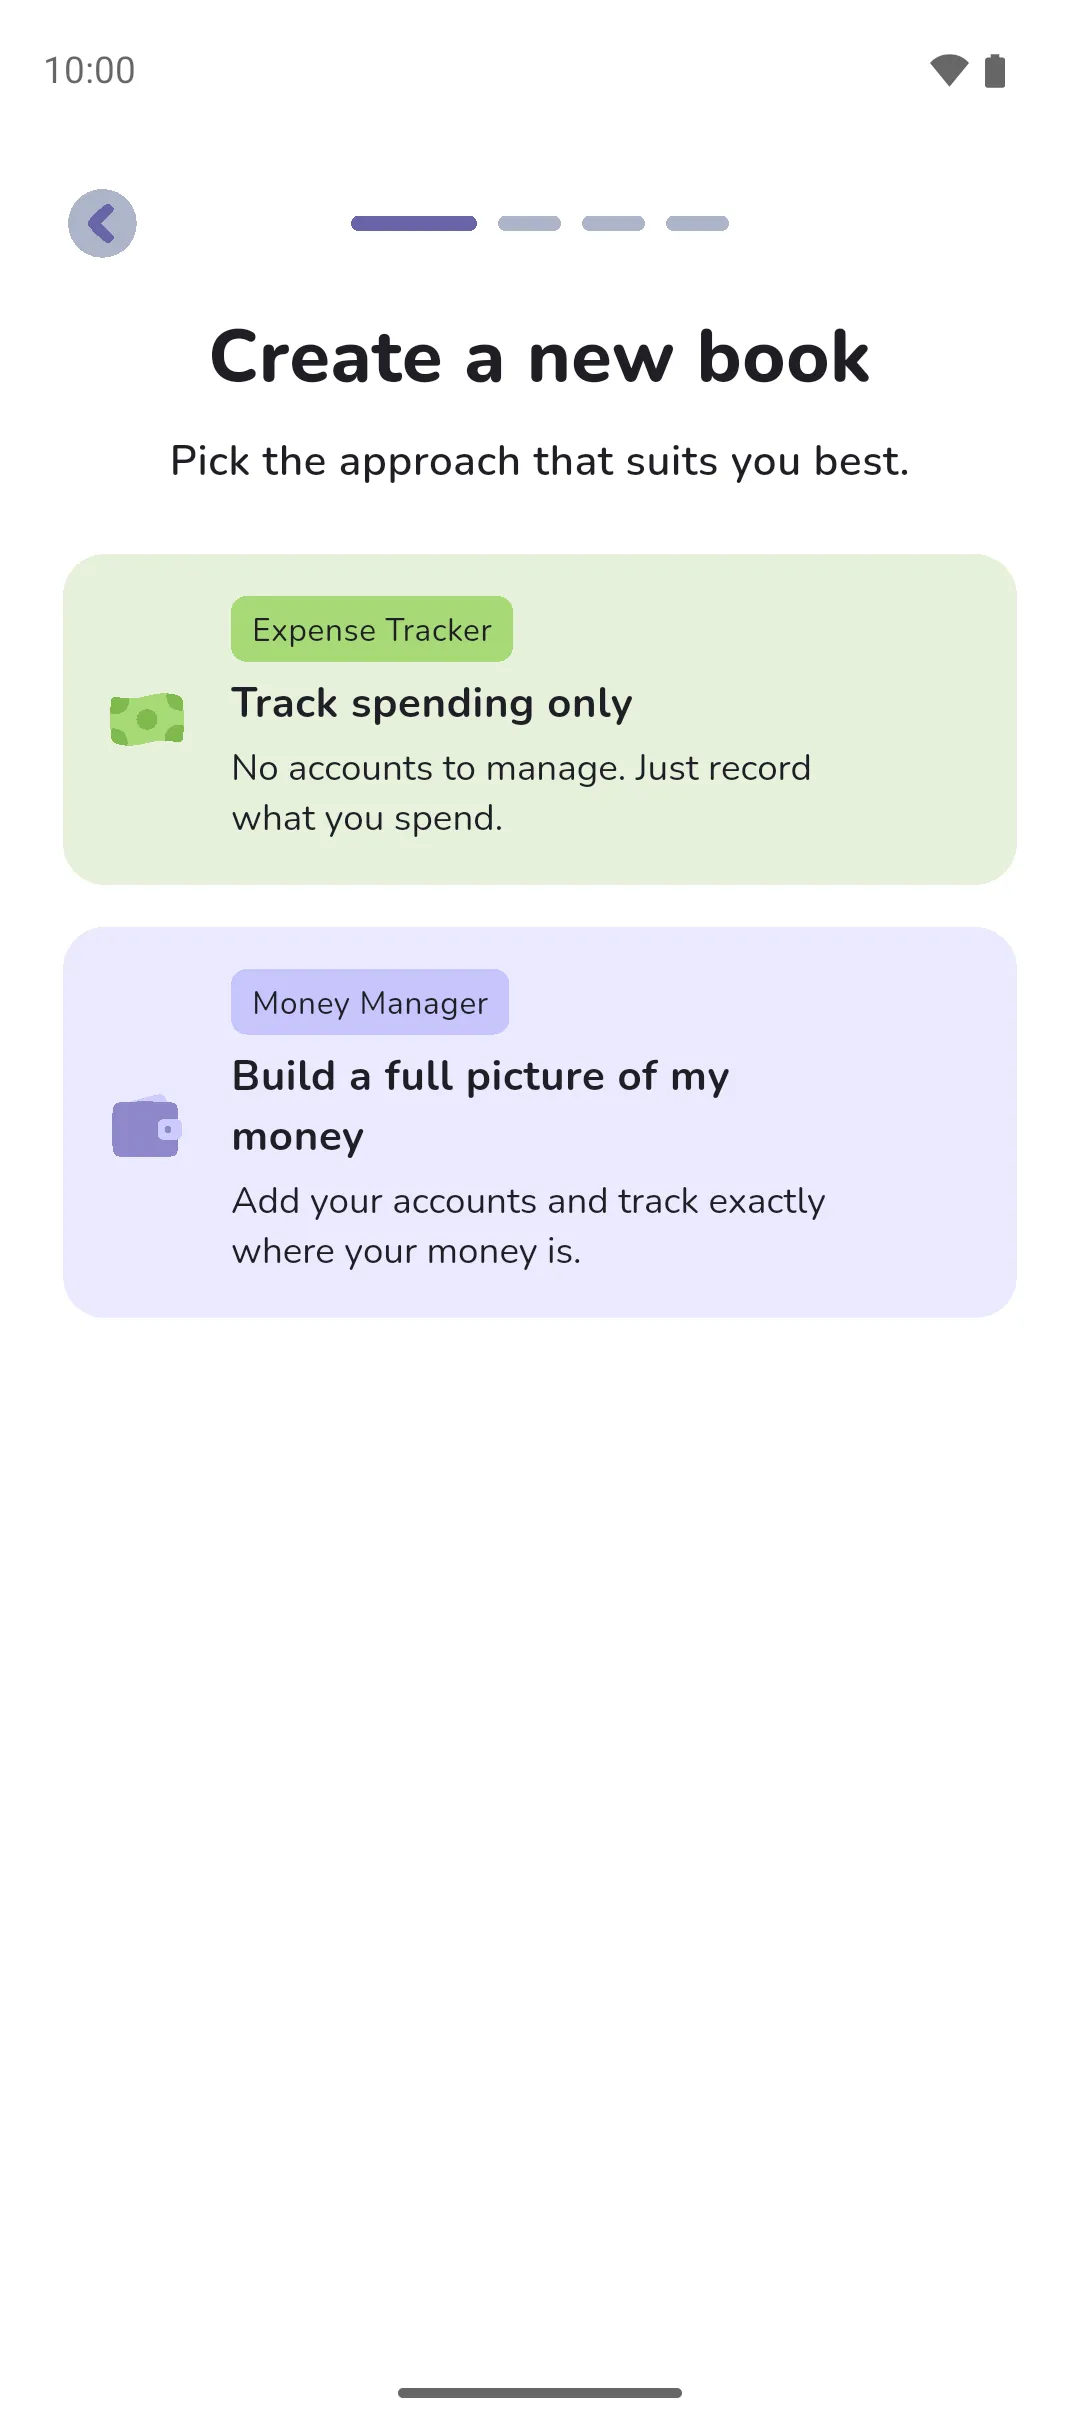
- On Books, tap the Plus button in the bottom right.
- Choose the type. Expense Tracker records what you spend, with no accounts to manage. Money Manager adds your accounts and tracks where your money is, and is the type bank sync needs. The type can't be changed later.
- Give the book a Name and pick a Colour, then tap Continue. The colour is the book's cover, the Book icon you see top right. A cover with a lock unlocks at the level shown.
- Choose the currency. Type to search the list. Where a currency has two symbols, the app asks Choose which symbol to use:. The currency sets how amounts are shown in the book.
- Choose how you budget: Monthly, Fortnightly or Weekly. Most people match this to their pay cycle.
- Choose when each period starts: a day of the month from the 1st to the 28th, a day of the week, or for a fortnight any recent date, such as your last payday. Tap Create book.
 Plus button in the bottom right.
A new book starts with the categories: Dining Out, Entertainment, Groceries, Healthcare, Housing, Transportation and Utilities for expenses, and Salary for income. A new Money Manager book has no accounts yet, so the app takes you to Manage accounts.
Edit a book
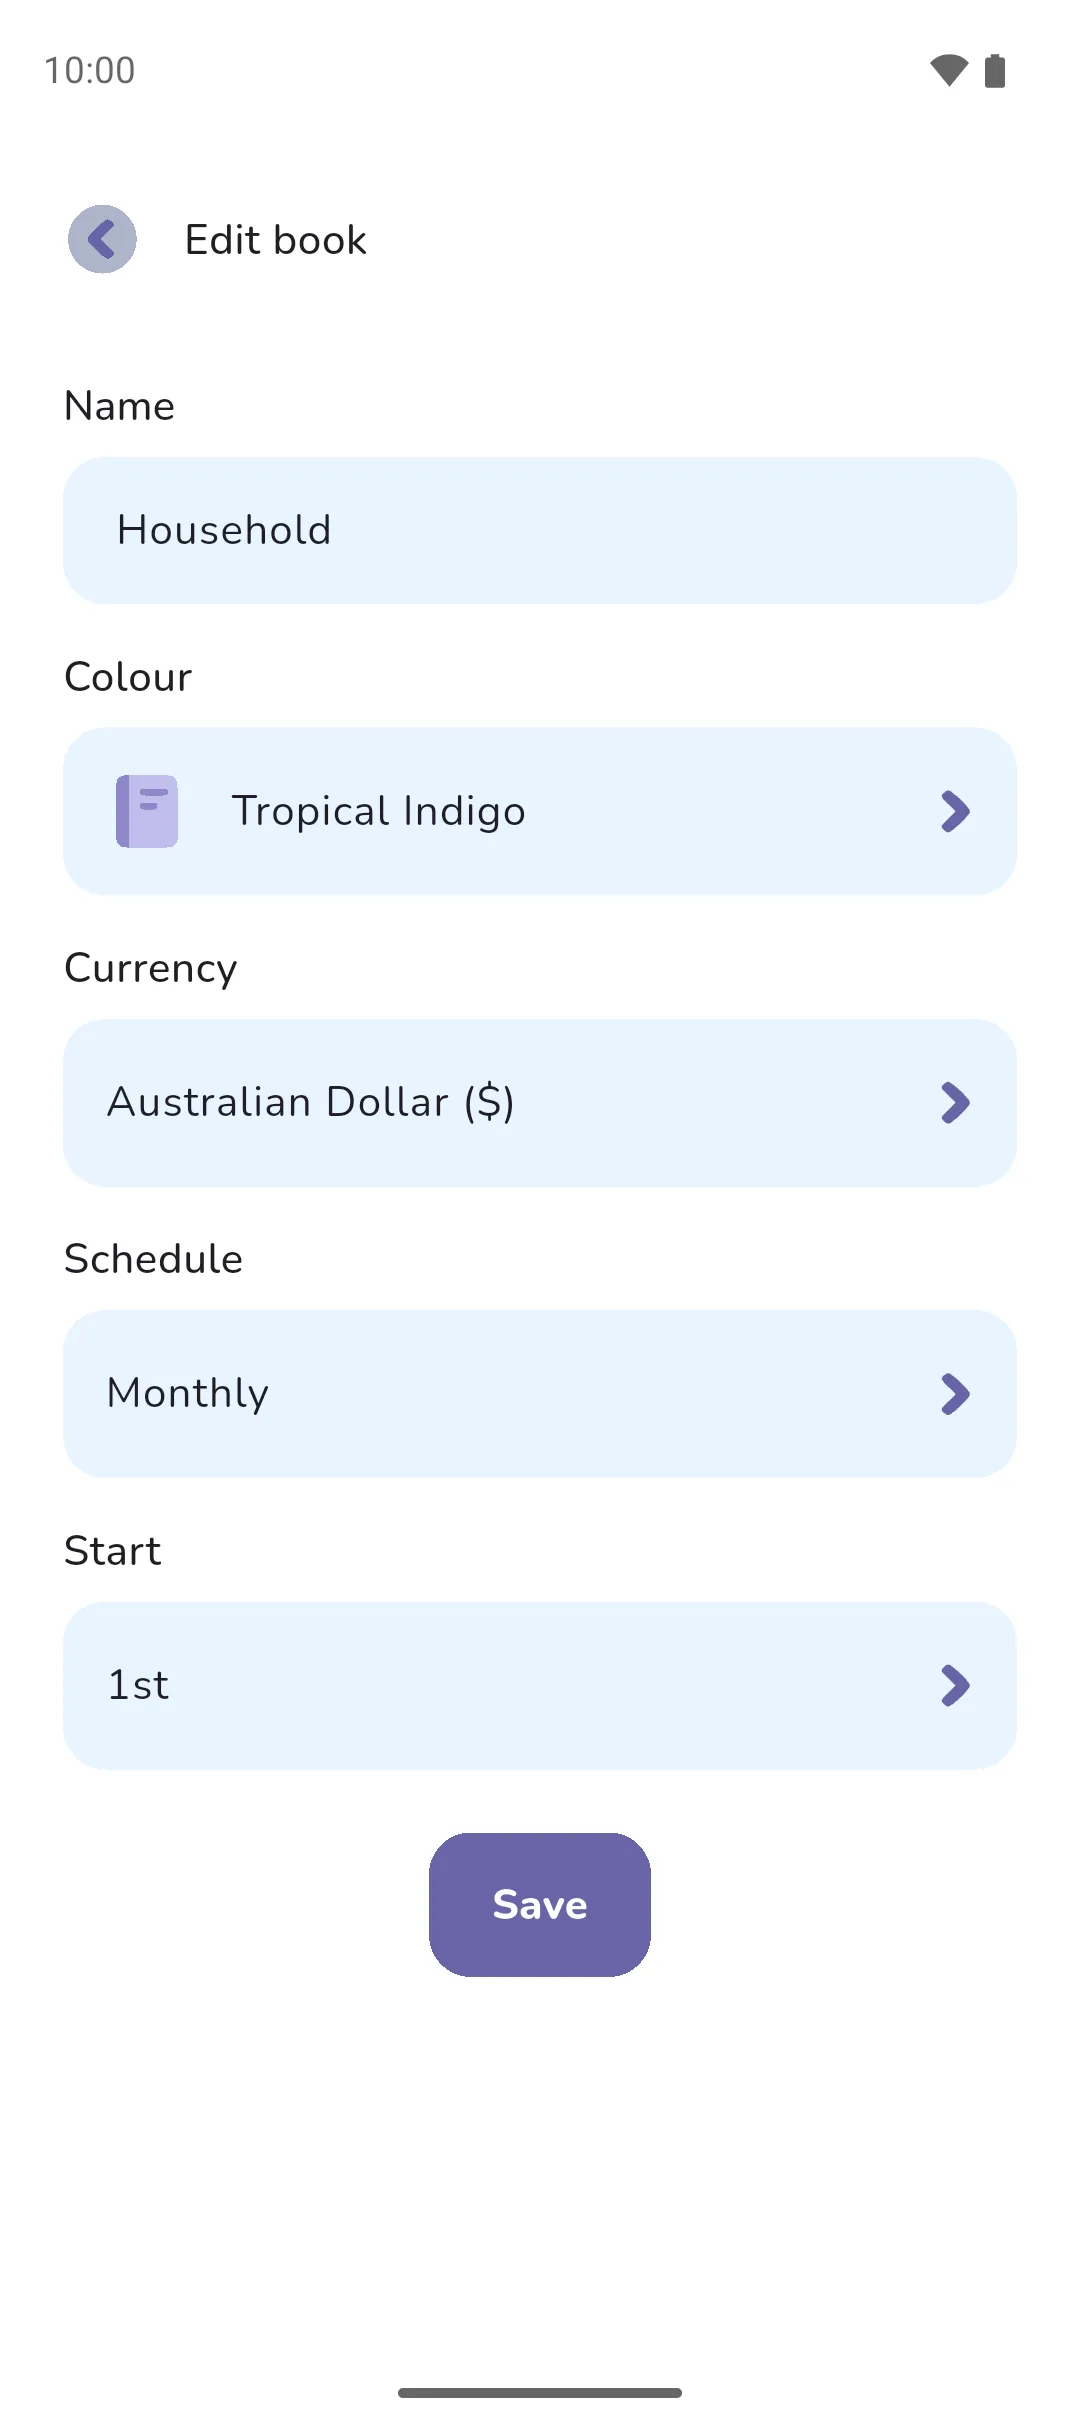
Tap the book's name on its card, or the Schedule or Currency row under Settings, to open Edit book. Change the Name, Colour, Currency, Schedule or Start and tap Save.
Changing the schedule deletes every budget and goal in the book. Changing only the start day keeps them.
Switch the active book
Swipe to the book and tap Set as active book. The home screen, the tabs and the Plus button then work in that book. A new book isn't active until you set it.
Export to CSV
Under Transactions, tap Export CSV. Pro is required. The file, named after the book, contains every transaction and transfer in it, newest first, one row each:
- Whether it's an expense, income or a transfer.
- The account it's on, or the two a transfer moves between, and each account's type.
- Whether it's pending.
- The note.
- The amount. An expense is negative.
- The category.
- The date and time.
- One column per tag in the book.
On Android the share sheet opens. On iOS the file opens.
Display decimals
Under Settings, the Display decimals toggle chooses whether the book's amounts show decimal places. It's for a currency that has none, such as yen or rupiah. Turning it off shows the book's amounts as whole numbers. The decimals stay in your transactions and totals. This setting is saved on your phone, not with your login, so set it on each phone you use.
Archive or delete a book
Both are found under Danger zone, which appears once you have more than one book.
- Archive book hides the book. Tap the title Books at the top of the screen and choose Archived to see archived books, where Unarchive book brings one back. An archived book can't be edited or made active.
- Delete book deletes the book and everything in it. Type the book's name to confirm, then tap Delete this book. With Pro Sync: a book with linked accounts can't be deleted until those accounts are: see Linked accounts.
- The free plan allows for one Expense Tracker and one Money Manager book, archived books included. For a second of either type, Pro is required.
- A book's type is locked at creation, so moving to Money Manager means creating a Money Manager book.
- Each book keeps its own accounts, categories, tags, budgets and transactions.
- The bottom bar changes slightly with book type. A Money Manager book has an Accounts tab. An Expense Tracker book has the Timeline tab instead.
- Archiving or deleting the active book makes another book active.
See also: Accounts, Categories, Budgets and goals.